POS Printer
Set up thermal receipt printers to auto-print after payment. Pick 58mm or 80mm paper and fire a test print right from the browser.
How to enable it
- 1
Log in as an Admin and open Addons from the sidebar.
- 2
Find POS Printer under Hardware and click Enable.
- 3
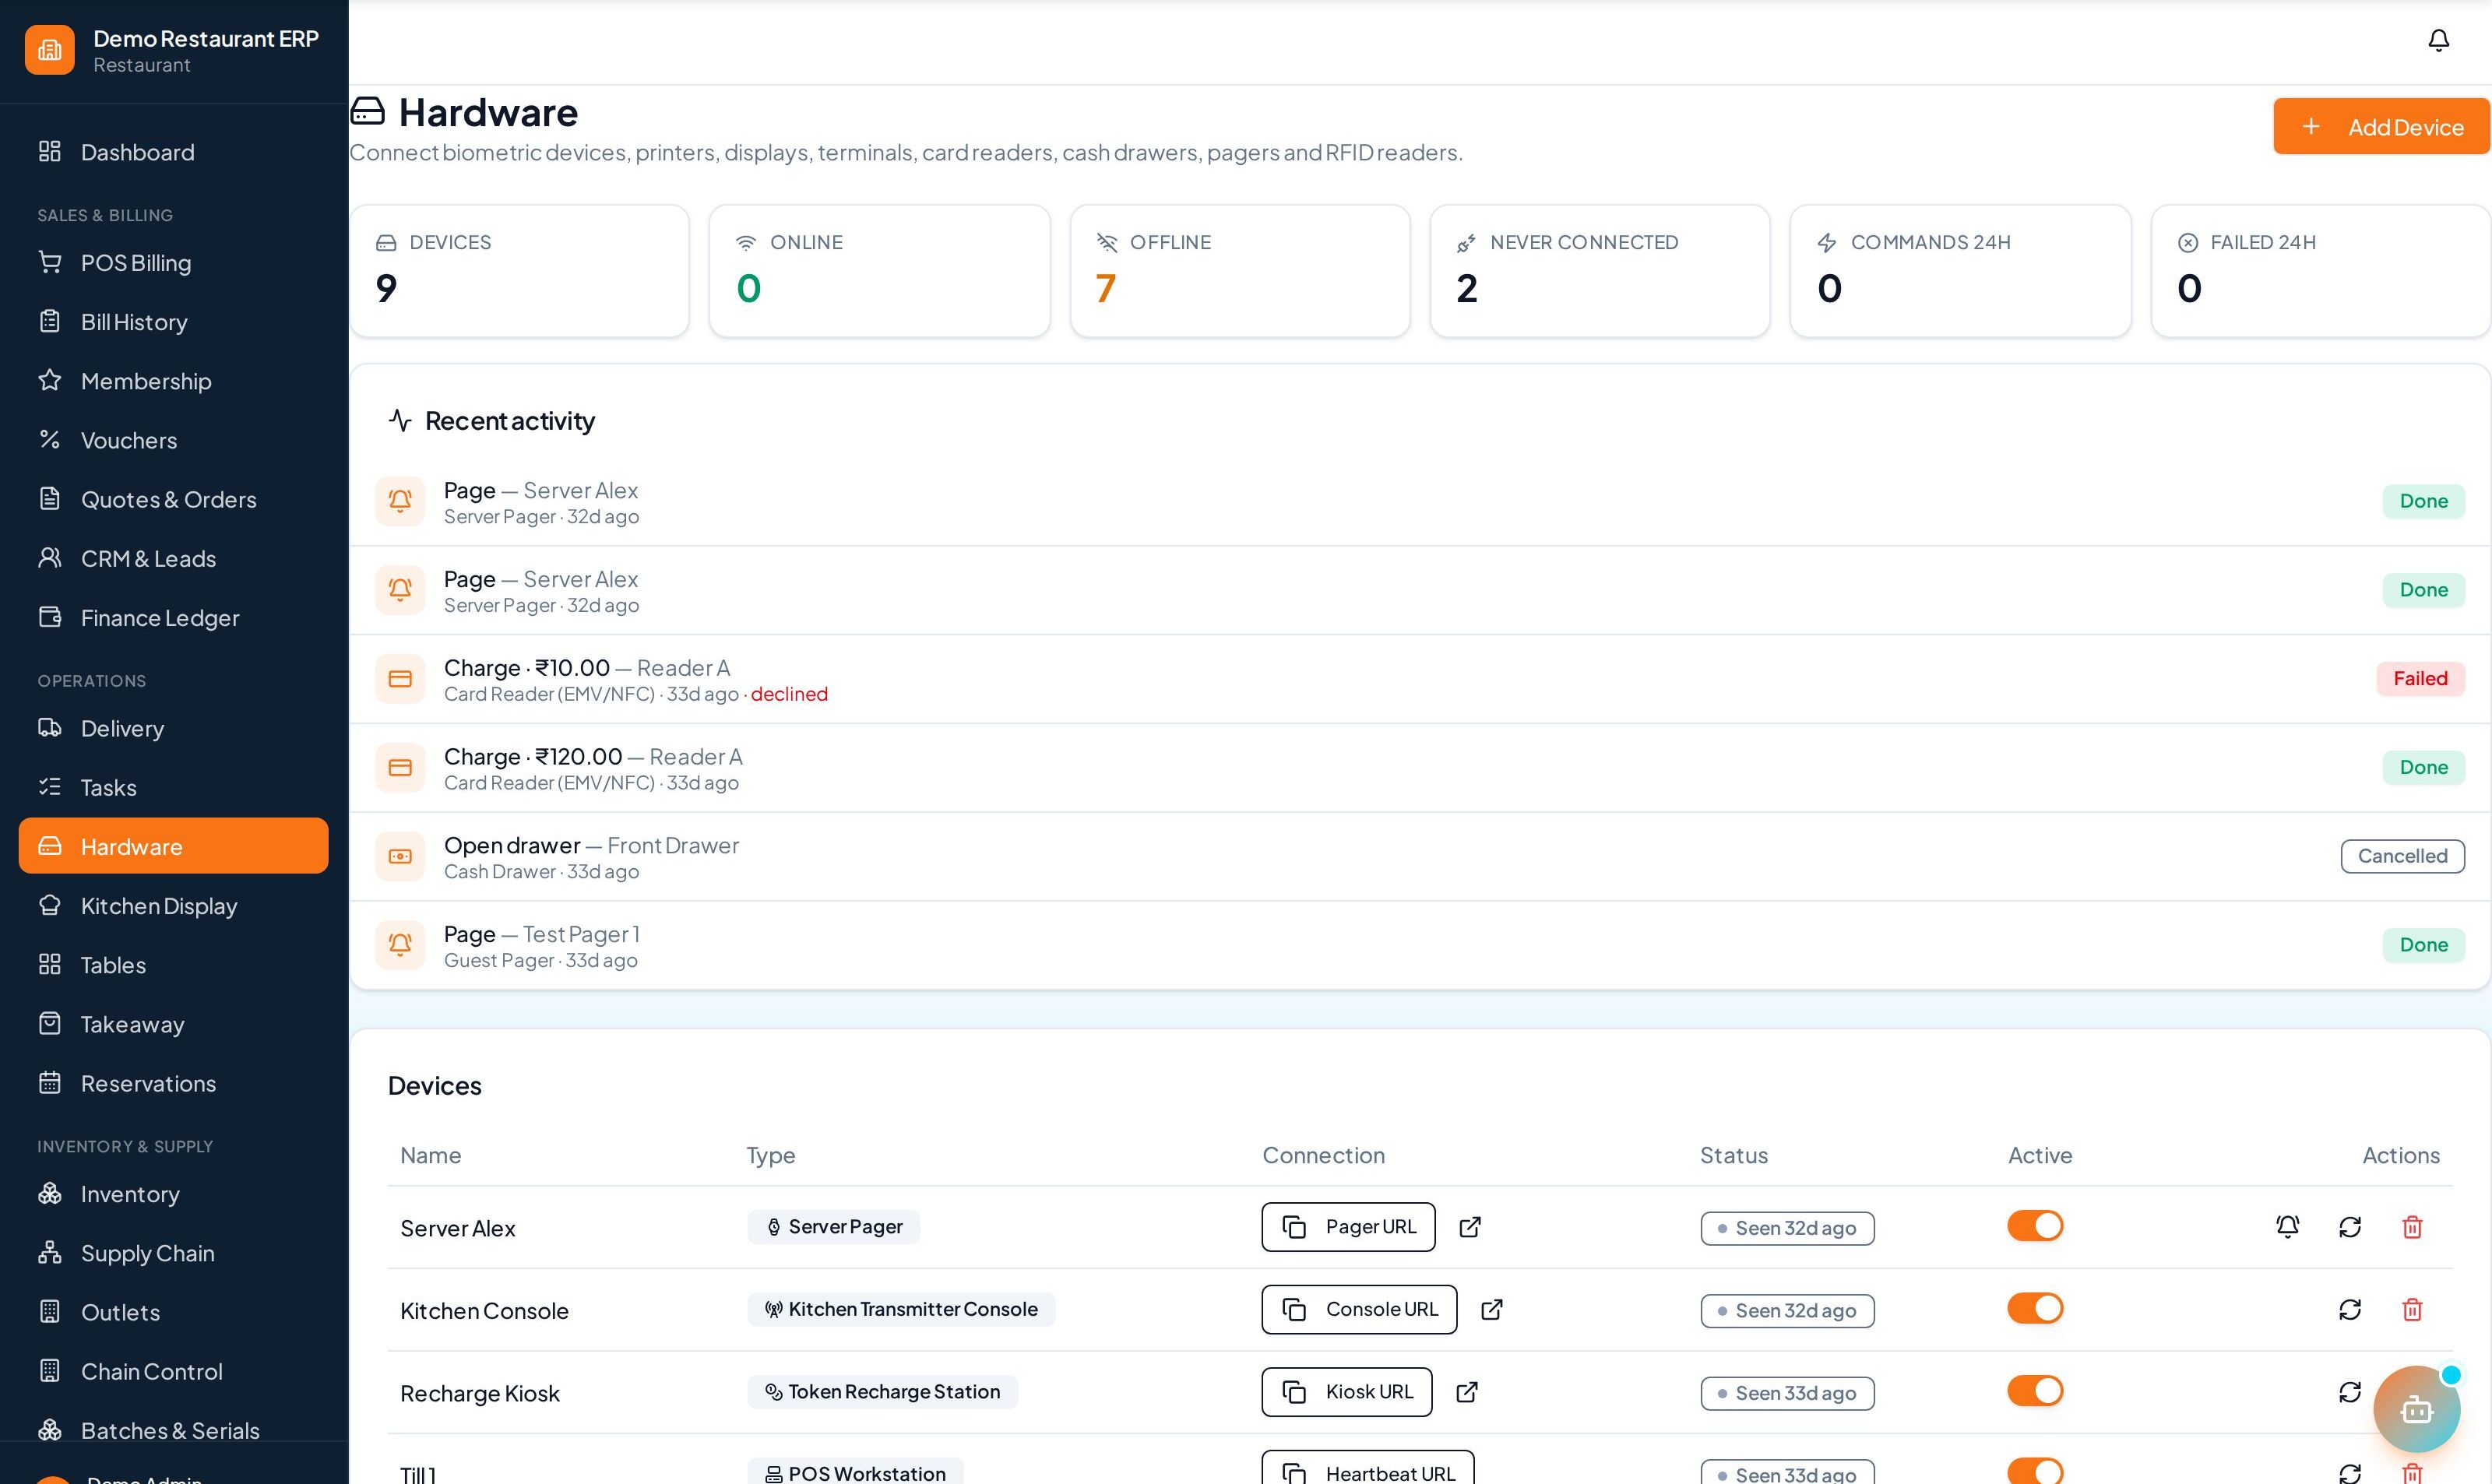
Open Hardware from the sidebar to register your device.
Step by step
- 1
Add printer
Register the printer per counter and pick 58mm or 80mm paper width.
- 2
Test print
Run a browser test print to confirm alignment and width.
- 3
Bill
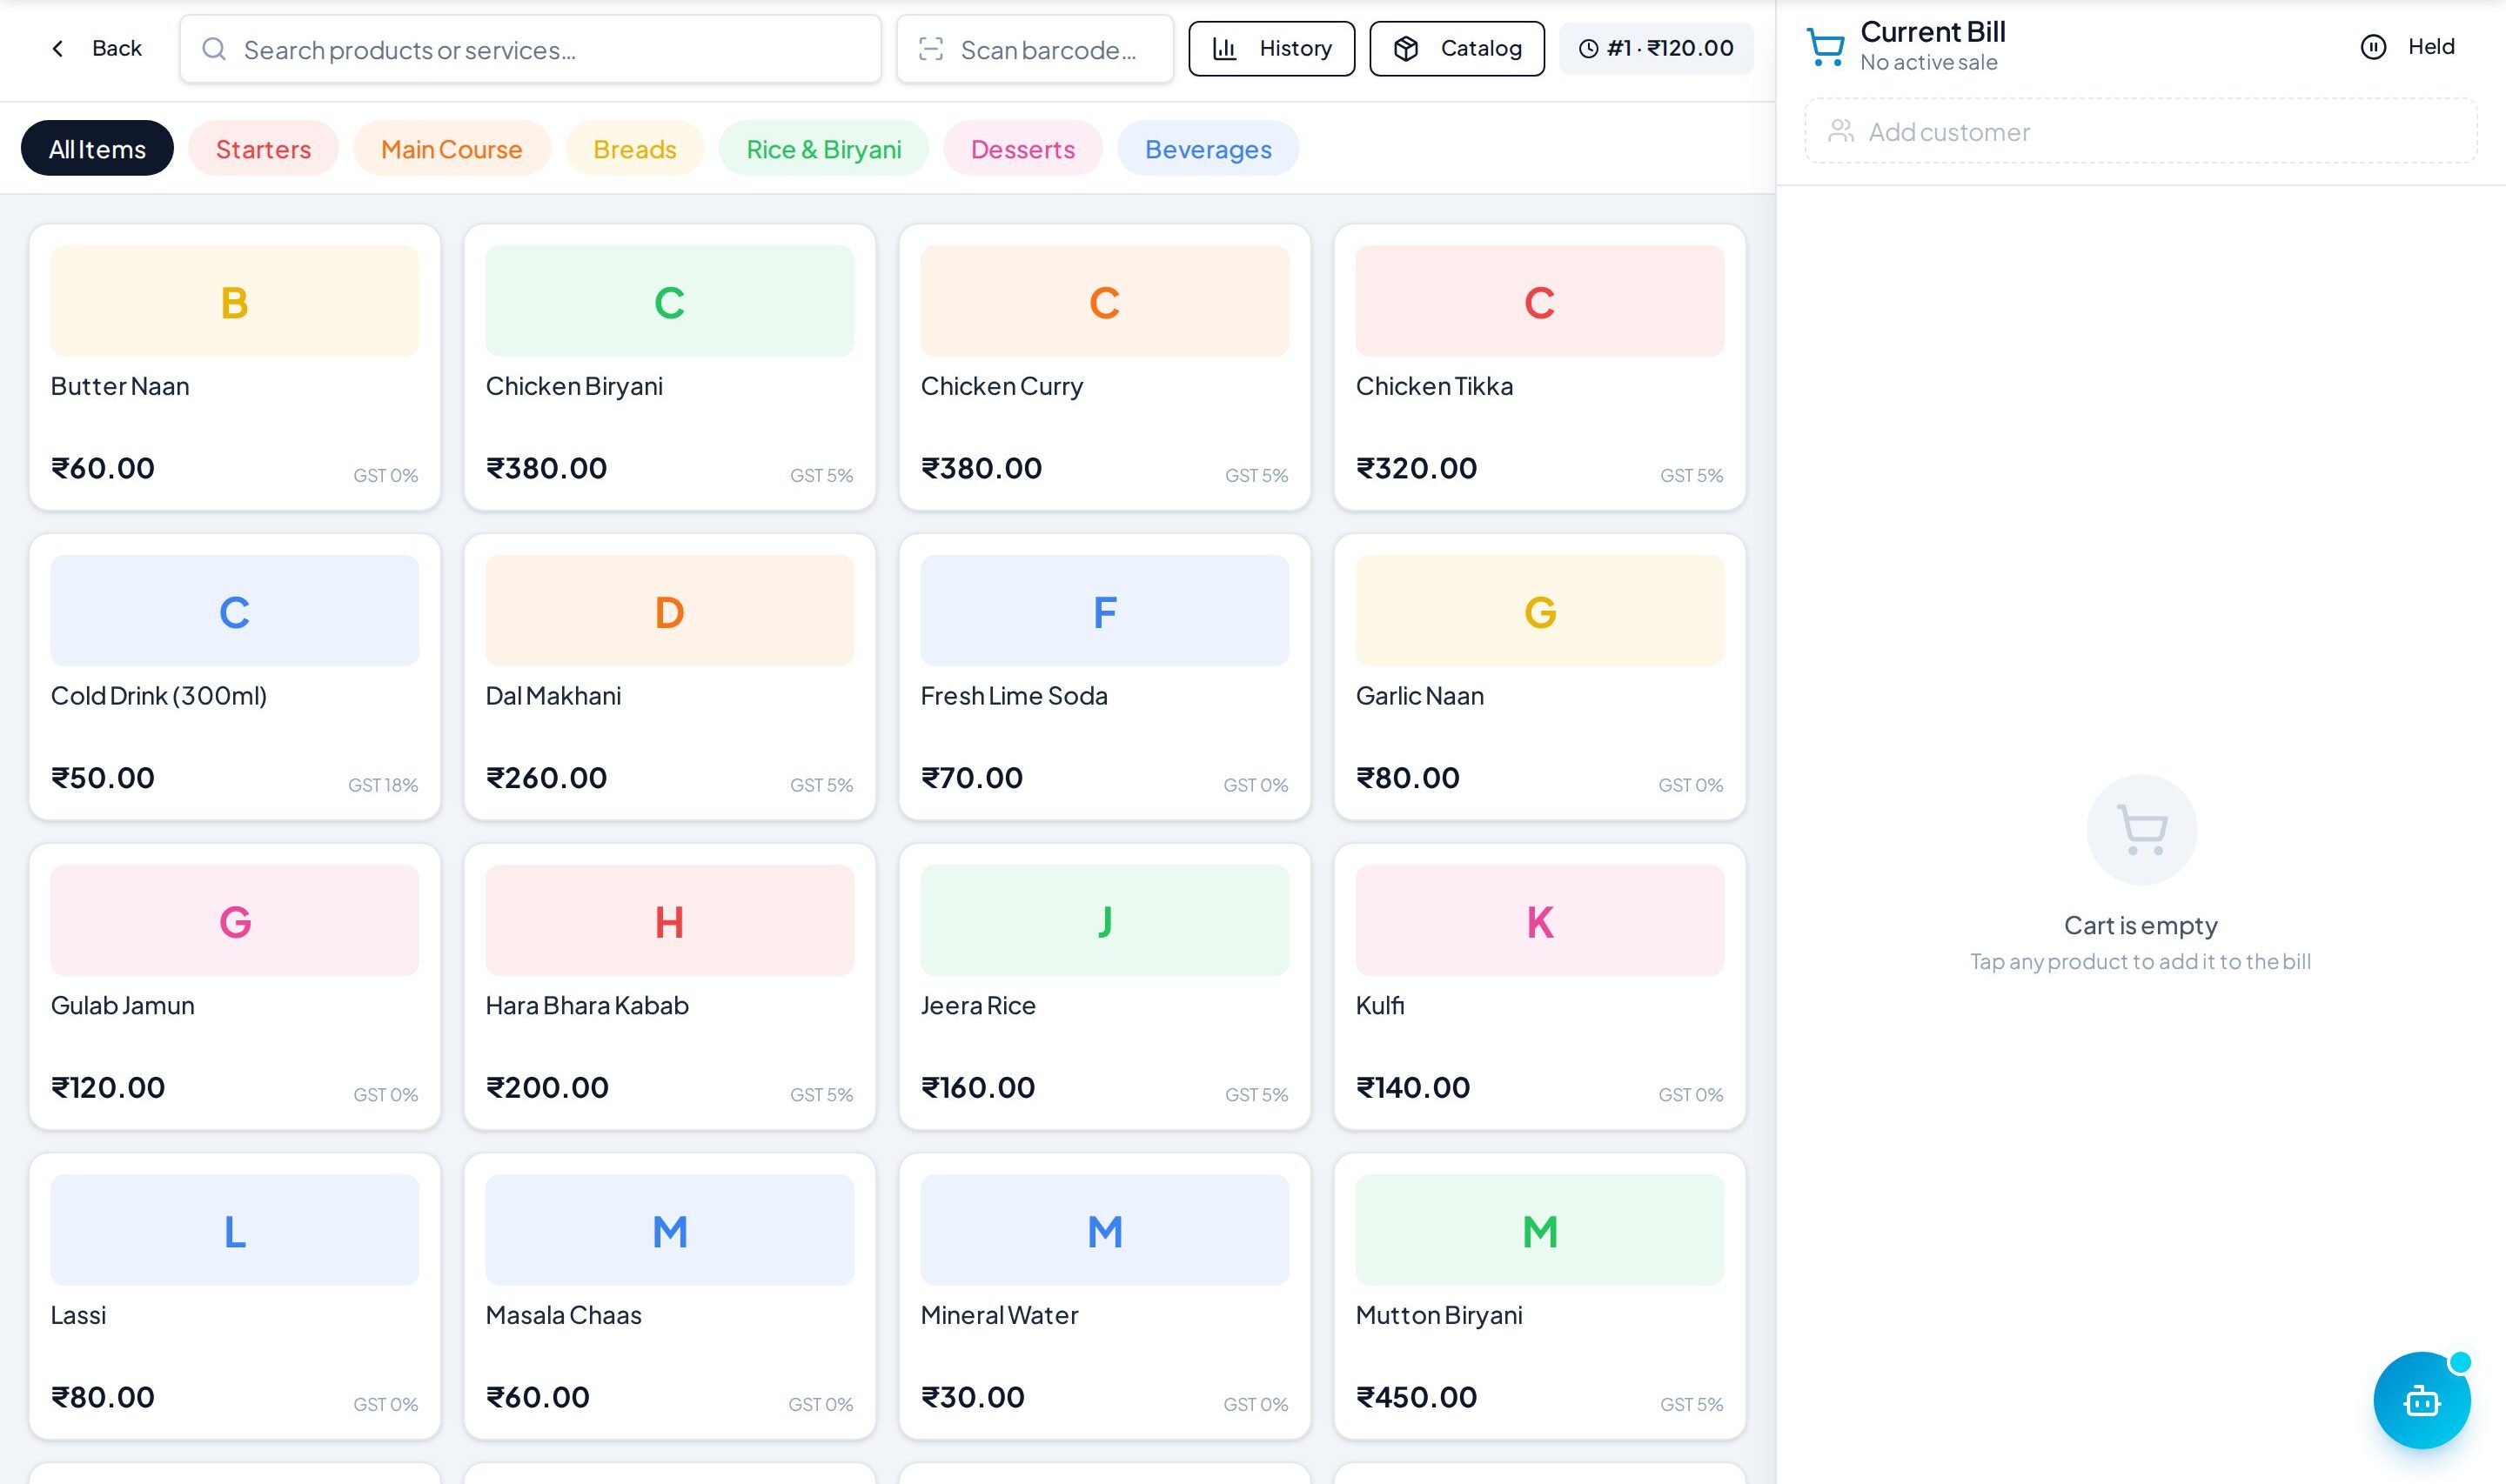
Receipts print automatically the moment a bill is paid.
See it in the app
Want the full feature list?
See everything POS Printer can do and what's included.
More Core & Common guides
POS Billing
The billing counter at the heart of ERP Node. Ring up items, apply GST automatically, take split payments, and print or share the receipt in seconds.
HRMS & Payroll
Manage your whole team — employee records, attendance and leave, then run payroll with auto-generated payslips.
Inventory
Real-time stock across every outlet. Track on-hand quantity, raise purchase orders, and get low-stock alerts before you run out.